 netken
Airsoft Optics Guide: Red Dot, LPVO, Scope and Magnifier Explained
A practical airsoft optics guide for players who need to understand what each optic actually does, how to match it to CQB, woodland, DMR and sniper-style roles, how to mount it, how to use it, and what mistakes to avoid before buying.
Contents
- Evidence level and research method
- Why airsoft optics are different
- Five-step buying workflow
- Quick decision table
- Red dot sights explained
- LPVOs explained
- Traditional scopes explained
- Magnifiers explained
- How to match optics by scenario
- How to install red dots, LPVOs, scopes and magnifiers
- How to use each optic in the field
- Mounting, using and avoiding mistakes
- Buyer mistake map
- Recommended next reading
- Airsoft optic decision score
- Sources and research notes
Evidence level and research method
This is a market-researched, spec-compared and use-case matched guide. It is not presented as a lab test of one physical optic. The goal is to help airsoft players understand how each optic type behaves in real field scenarios, then choose the next article, product review or price tracker more confidently.
Market guide review
We reviewed current airsoft buying guides from Pinty, Patrol Base, Socom Tactical and Novritsch-style discussions around red dots, LPVOs, scopes, magnifiers and lens protection.
Local record synthesis
We connected this guide to LarkBell records such as Best LPVO for Airsoft, LPVO vs Red Dot, T-Eagle ER, VictOptics S6, SpecPrecision EXPS3 and Vector Optics pages.
Community signals
Reddit airsoft discussions were used only as directional community signals, especially for LPVO vs magnifier tradeoffs and lens-protection failure modes.
What this is not
This article does not claim a controlled field test of every optic shown. Scores evaluate the usefulness of the decision guide, not one single physical product.
Why airsoft optics are different from firearm optics
Airsoft optics are not judged by recoil survival alone. They are judged by whether you can actually use them while wearing eye protection, moving through a field, tracking BB flight and dealing with realistic airsoft engagement distances.
Range is shorter
Most useful airsoft engagements are close to medium range. Extreme magnification often narrows your view more than it helps.
Masks change eye relief
Goggles and mesh/full-face masks can make it harder to get behind a scope. Red dots are much more forgiving.
BB protection is mandatory
A cheap BB can damage an expensive lens. Use a protector, killflash or polycarbonate shield.
Magnification does not add range
An LPVO helps you see better. It does not make your BB fly farther or straighter.
Market guides from Patrol Base, Pinty and Socom Tactical all point to the same airsoft-specific pattern: red dots dominate close-range play, LPVOs and prism/fixed optics become useful outdoors, and high magnification should be used mainly for spotting, hit confirmation and role-specific builds rather than constant aiming.
Five-step buying workflow before choosing an airsoft optic
Before picking a model, decide what problem the optic must solve. The wrong optic is usually not “bad glass” — it is often the wrong height, wrong magnification, wrong weight or wrong protection plan for your field.
CQB favors red dots. Woodland and DMR lanes justify LPVOs or magnified options.
Full-face masks often need risers and forgiving eye relief; check this before buying.
Fast AEG/SMG builds need speed. DMR/sniper builds can accept slower eye-box demands.
Magnifiers and LPVO mounts add weight and rail length. Short replicas can feel front-heavy quickly.
No optic is complete until the front lens or window has BB-rated protection.
Quick decision table: which optic should you buy?
| Optic type | Best airsoft use | Main advantage | Main drawback | Beginner verdict |
|---|---|---|---|---|
| Red dot / reflex / holographic-style | CQB, short outdoor lanes, fast AEGs, SMGs | Fastest sight picture and most mask-friendly | No magnification for target ID | Best first optic |
| LPVO 1-4x / 1-6x | Woodland, mixed fields, DMR-style rifles | Switches between low power and observation magnification | Eye box, weight and slower close-range use | Best outdoor all-rounder |
| Traditional scope 3-9x / 2.5-10x | Sniper, slow DMR, target observation | More magnification and often clearer aiming references | Poor for CQB; usually starts too zoomed-in | Role-specific |
| Red dot + magnifier | Fast rifle that sometimes needs target ID | Keep the dot zeroed and flip magnification in/out | Alignment, weight and limited magnification choices | Good upgrade path |
| Prism sight | Compact etched-reticle alternative | Reticle remains visible without battery | Fixed magnification and shorter eye relief | Niche but useful |
Red dot sights explained
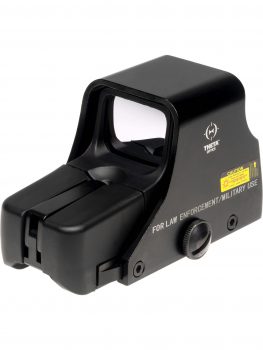
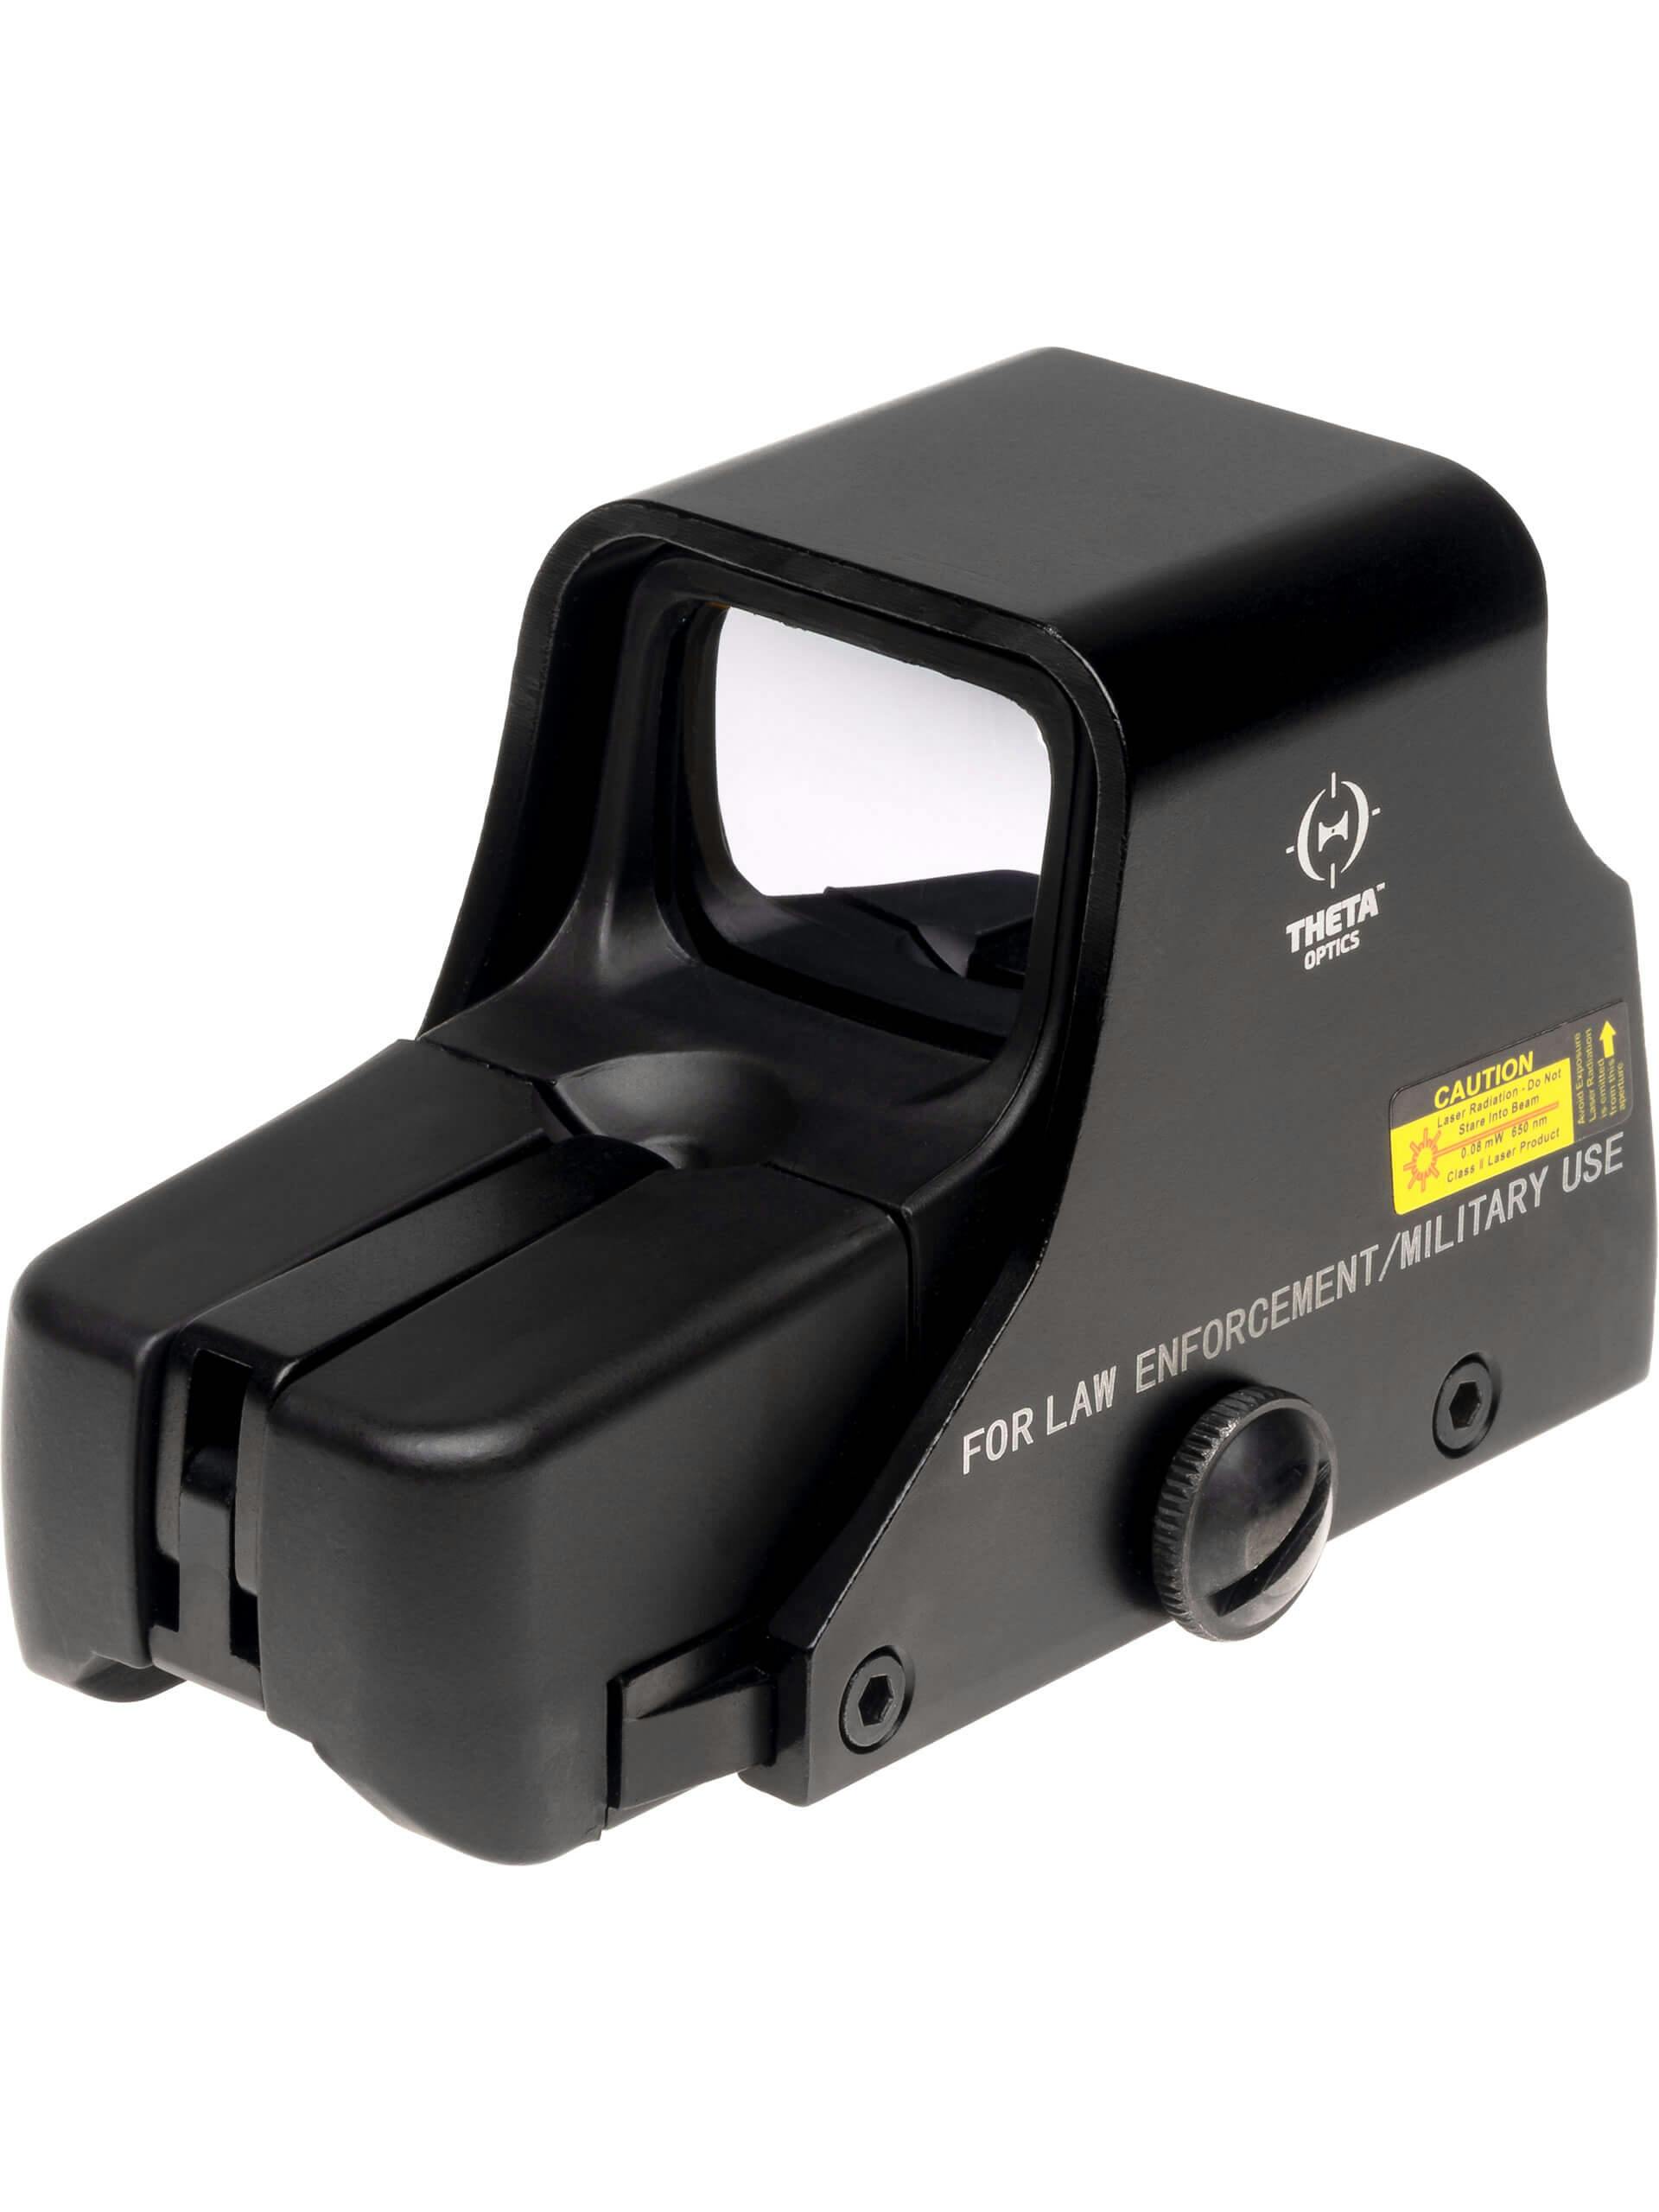
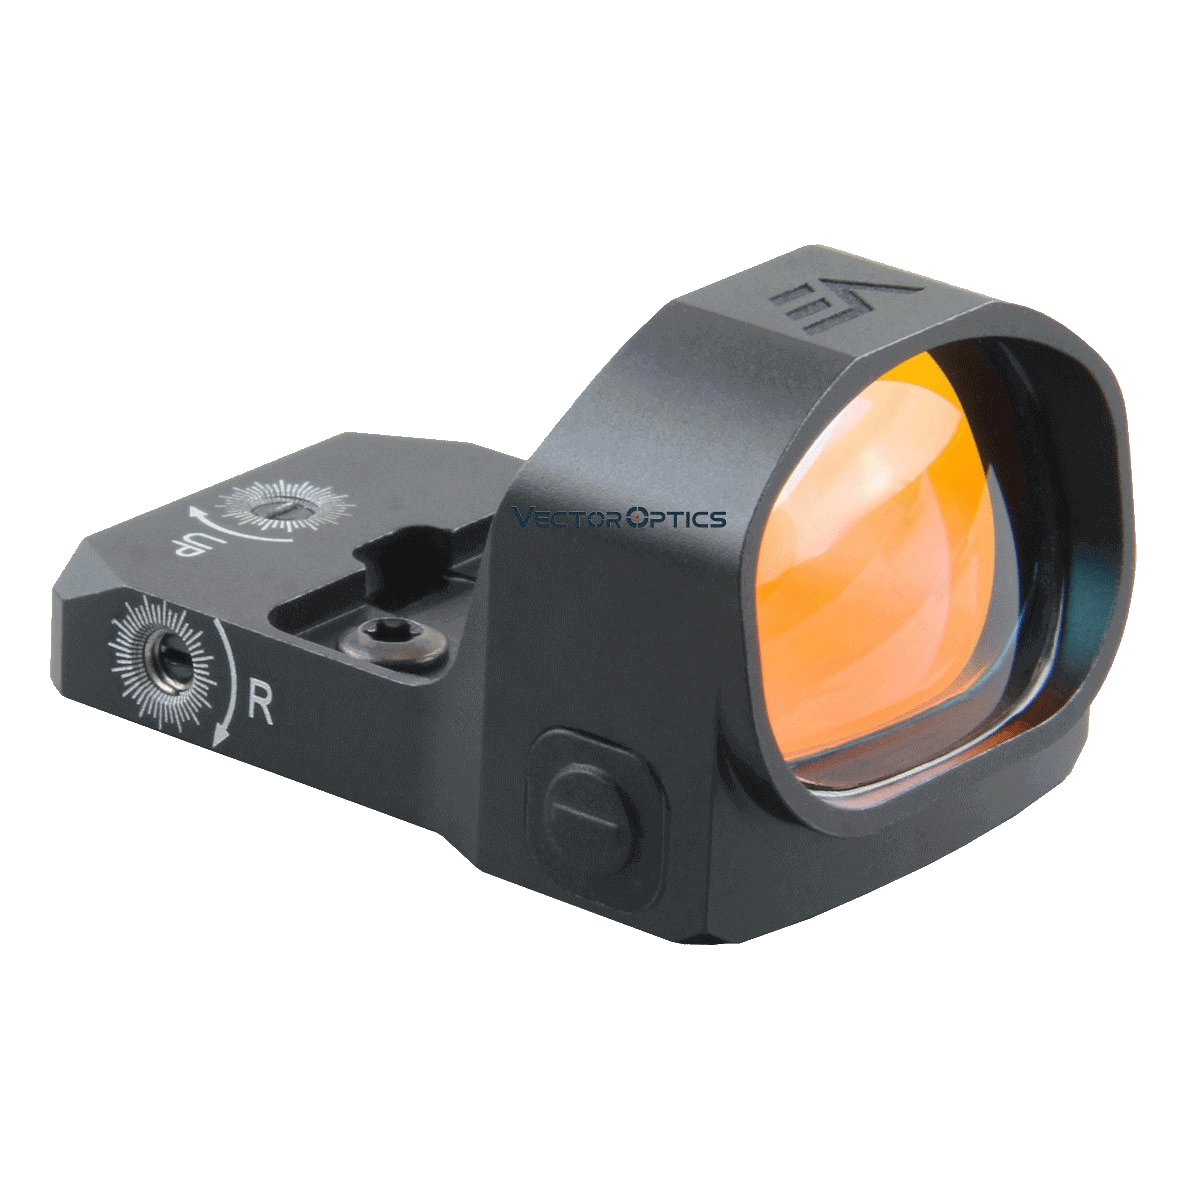
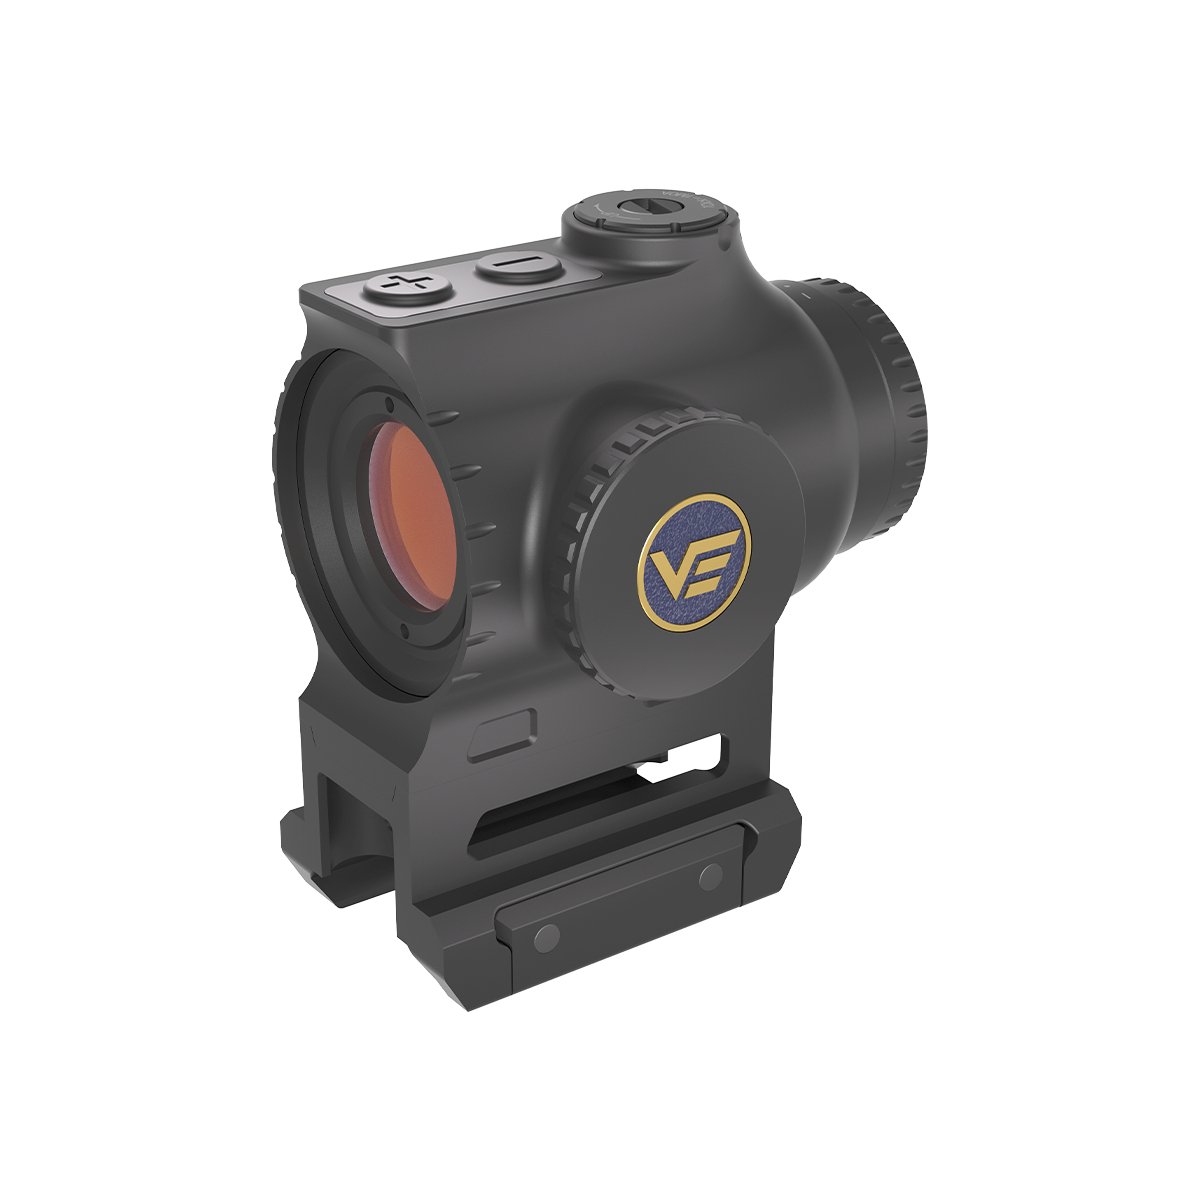
A red dot sight gives you a simple illuminated aiming point at 1x. It can be a tube-style red dot, open reflex sight or holographic-style replica. For airsoft, this is the easiest optic to use because you can keep both eyes open, move quickly and aim from imperfect positions.
Red dots are especially useful in CQB because you do not need to align front and rear sights. You bring the replica up, put the dot on the target and fire. They also work better with masks because eye relief is not critical.
Market notes from Pinty and Socom Tactical both reinforce the same beginner pattern: a red dot is usually the safest first optic because it keeps the replica light, preserves peripheral vision and works within the typical short-to-mid airsoft engagement window.
Choose a red dot if…
- You play CQB or short outdoor lanes.
- You wear bulky eye/face protection.
- You want the lightest setup.
- You are buying your first optic.
Avoid mistakes
- Do not run unprotected glass.
- Do not use brightness so high the dot blooms.
- Do not expect better target ID at distance.
- Do not buy for looks only; check mount height.
LPVOs explained
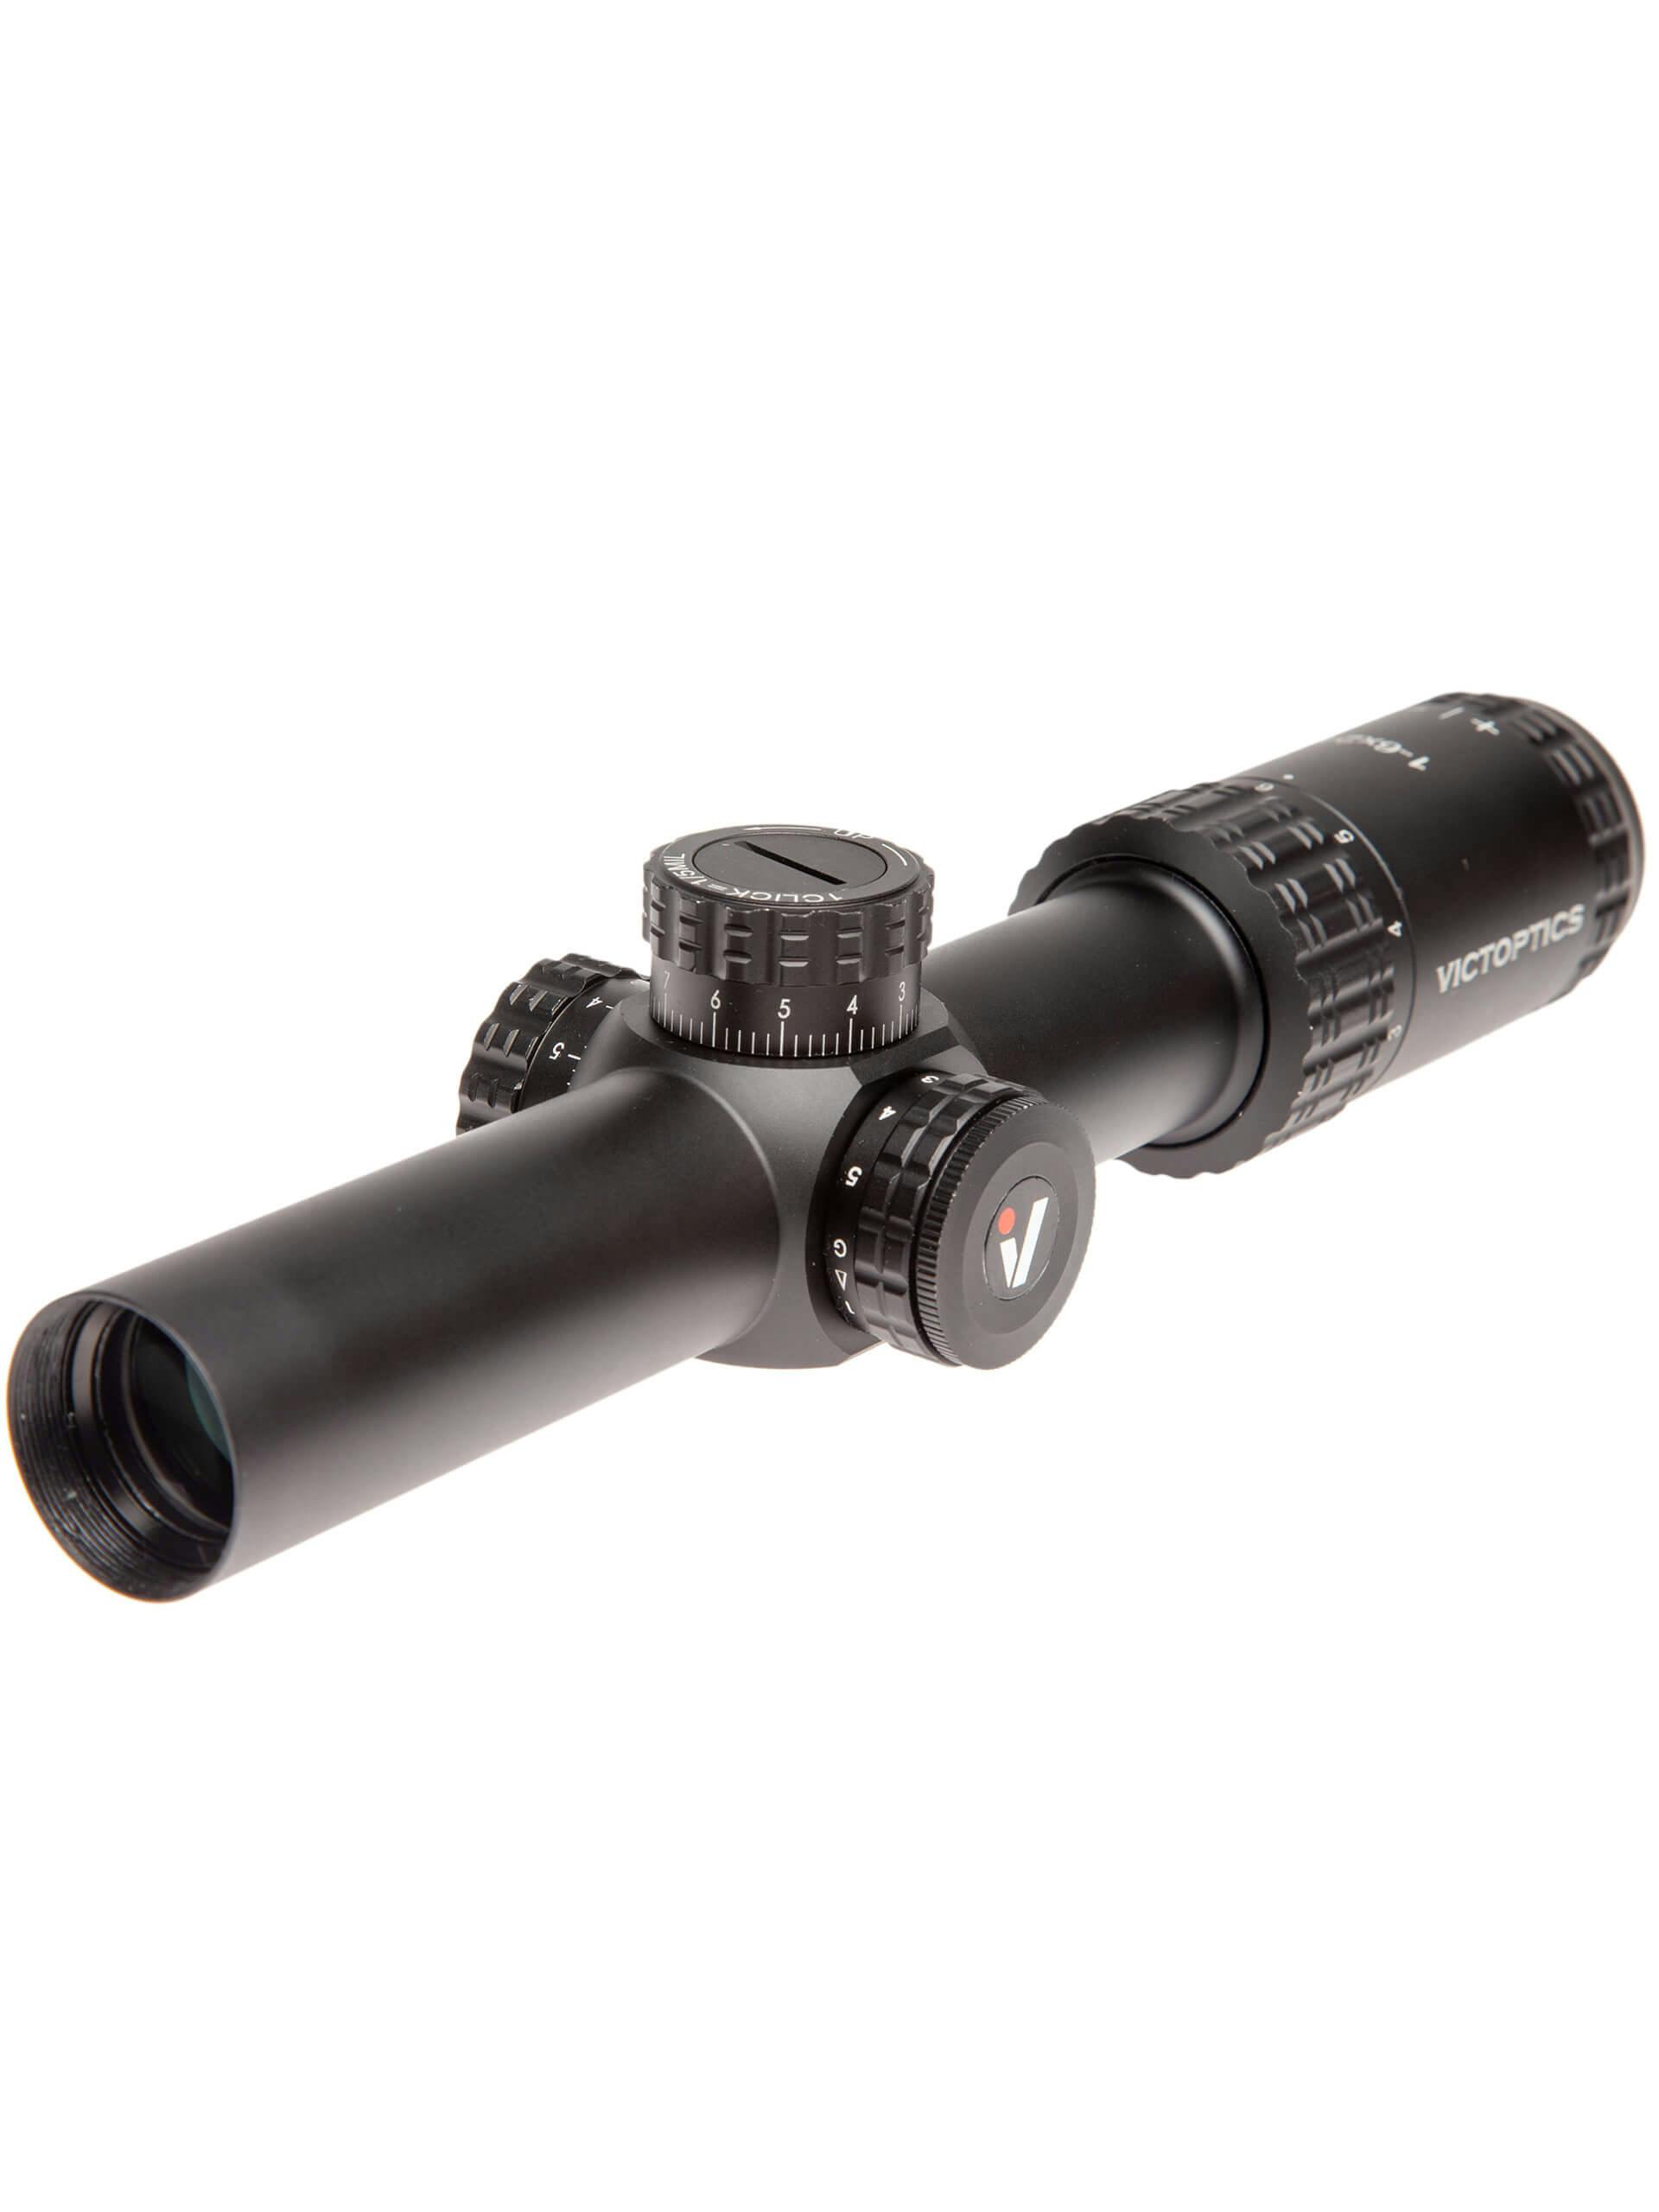
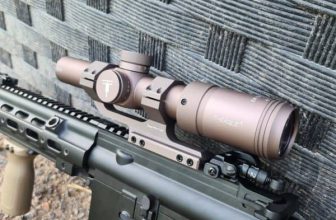
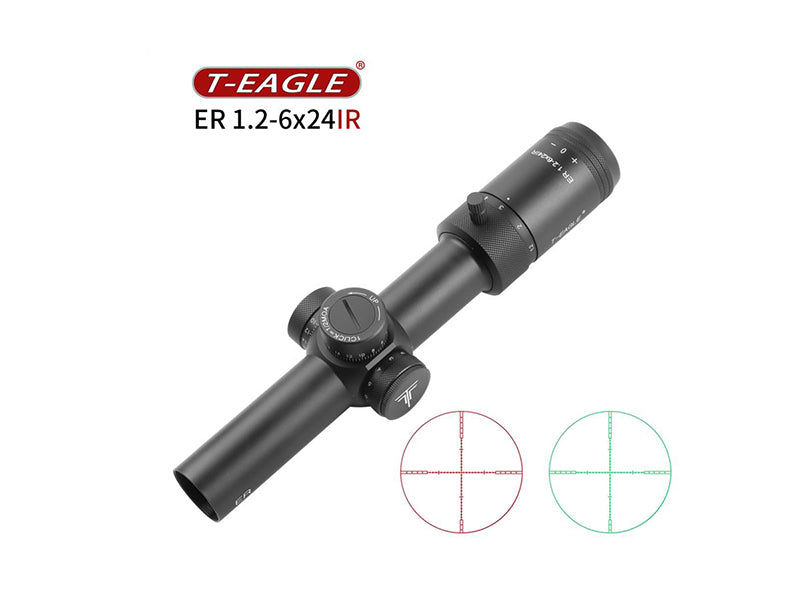
An LPVO — Low Power Variable Optic — is a scope that starts near 1x and zooms up to 4x, 6x, 8x or higher. For airsoft, the best range is usually 1-4x or 1-6x. Anything more can be heavy and unnecessary unless the optic is mainly used for spotting.
The LPVO’s real airsoft value is information. It helps you identify armbands, watch lanes, check if a player is behind brush and track BB flight. It does not make your rifle more powerful.
Traditional scopes explained
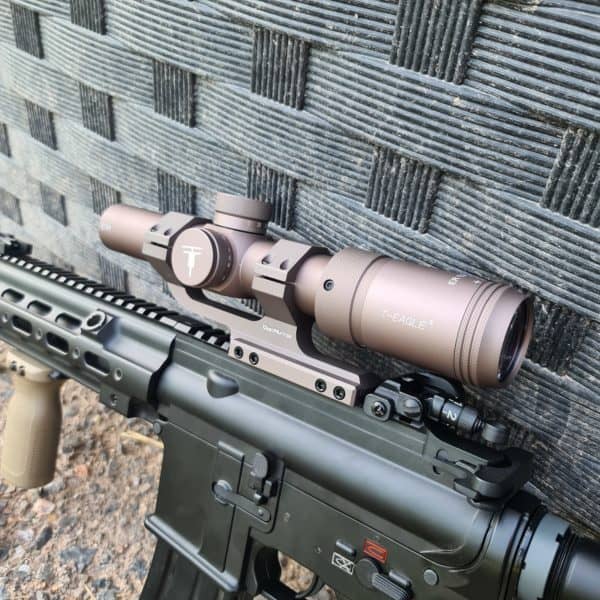
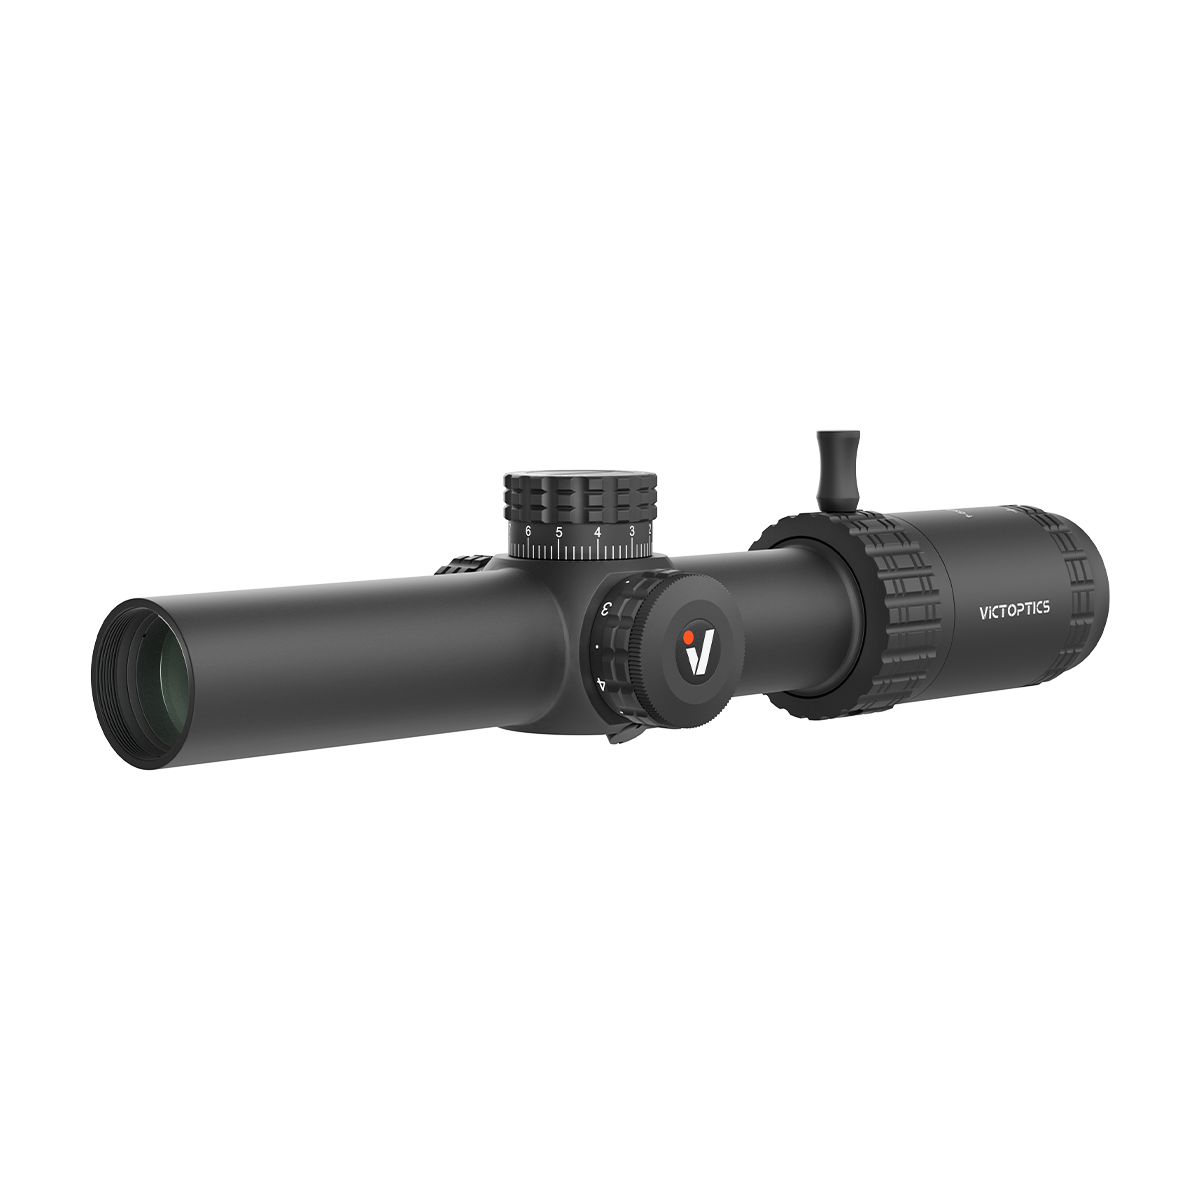
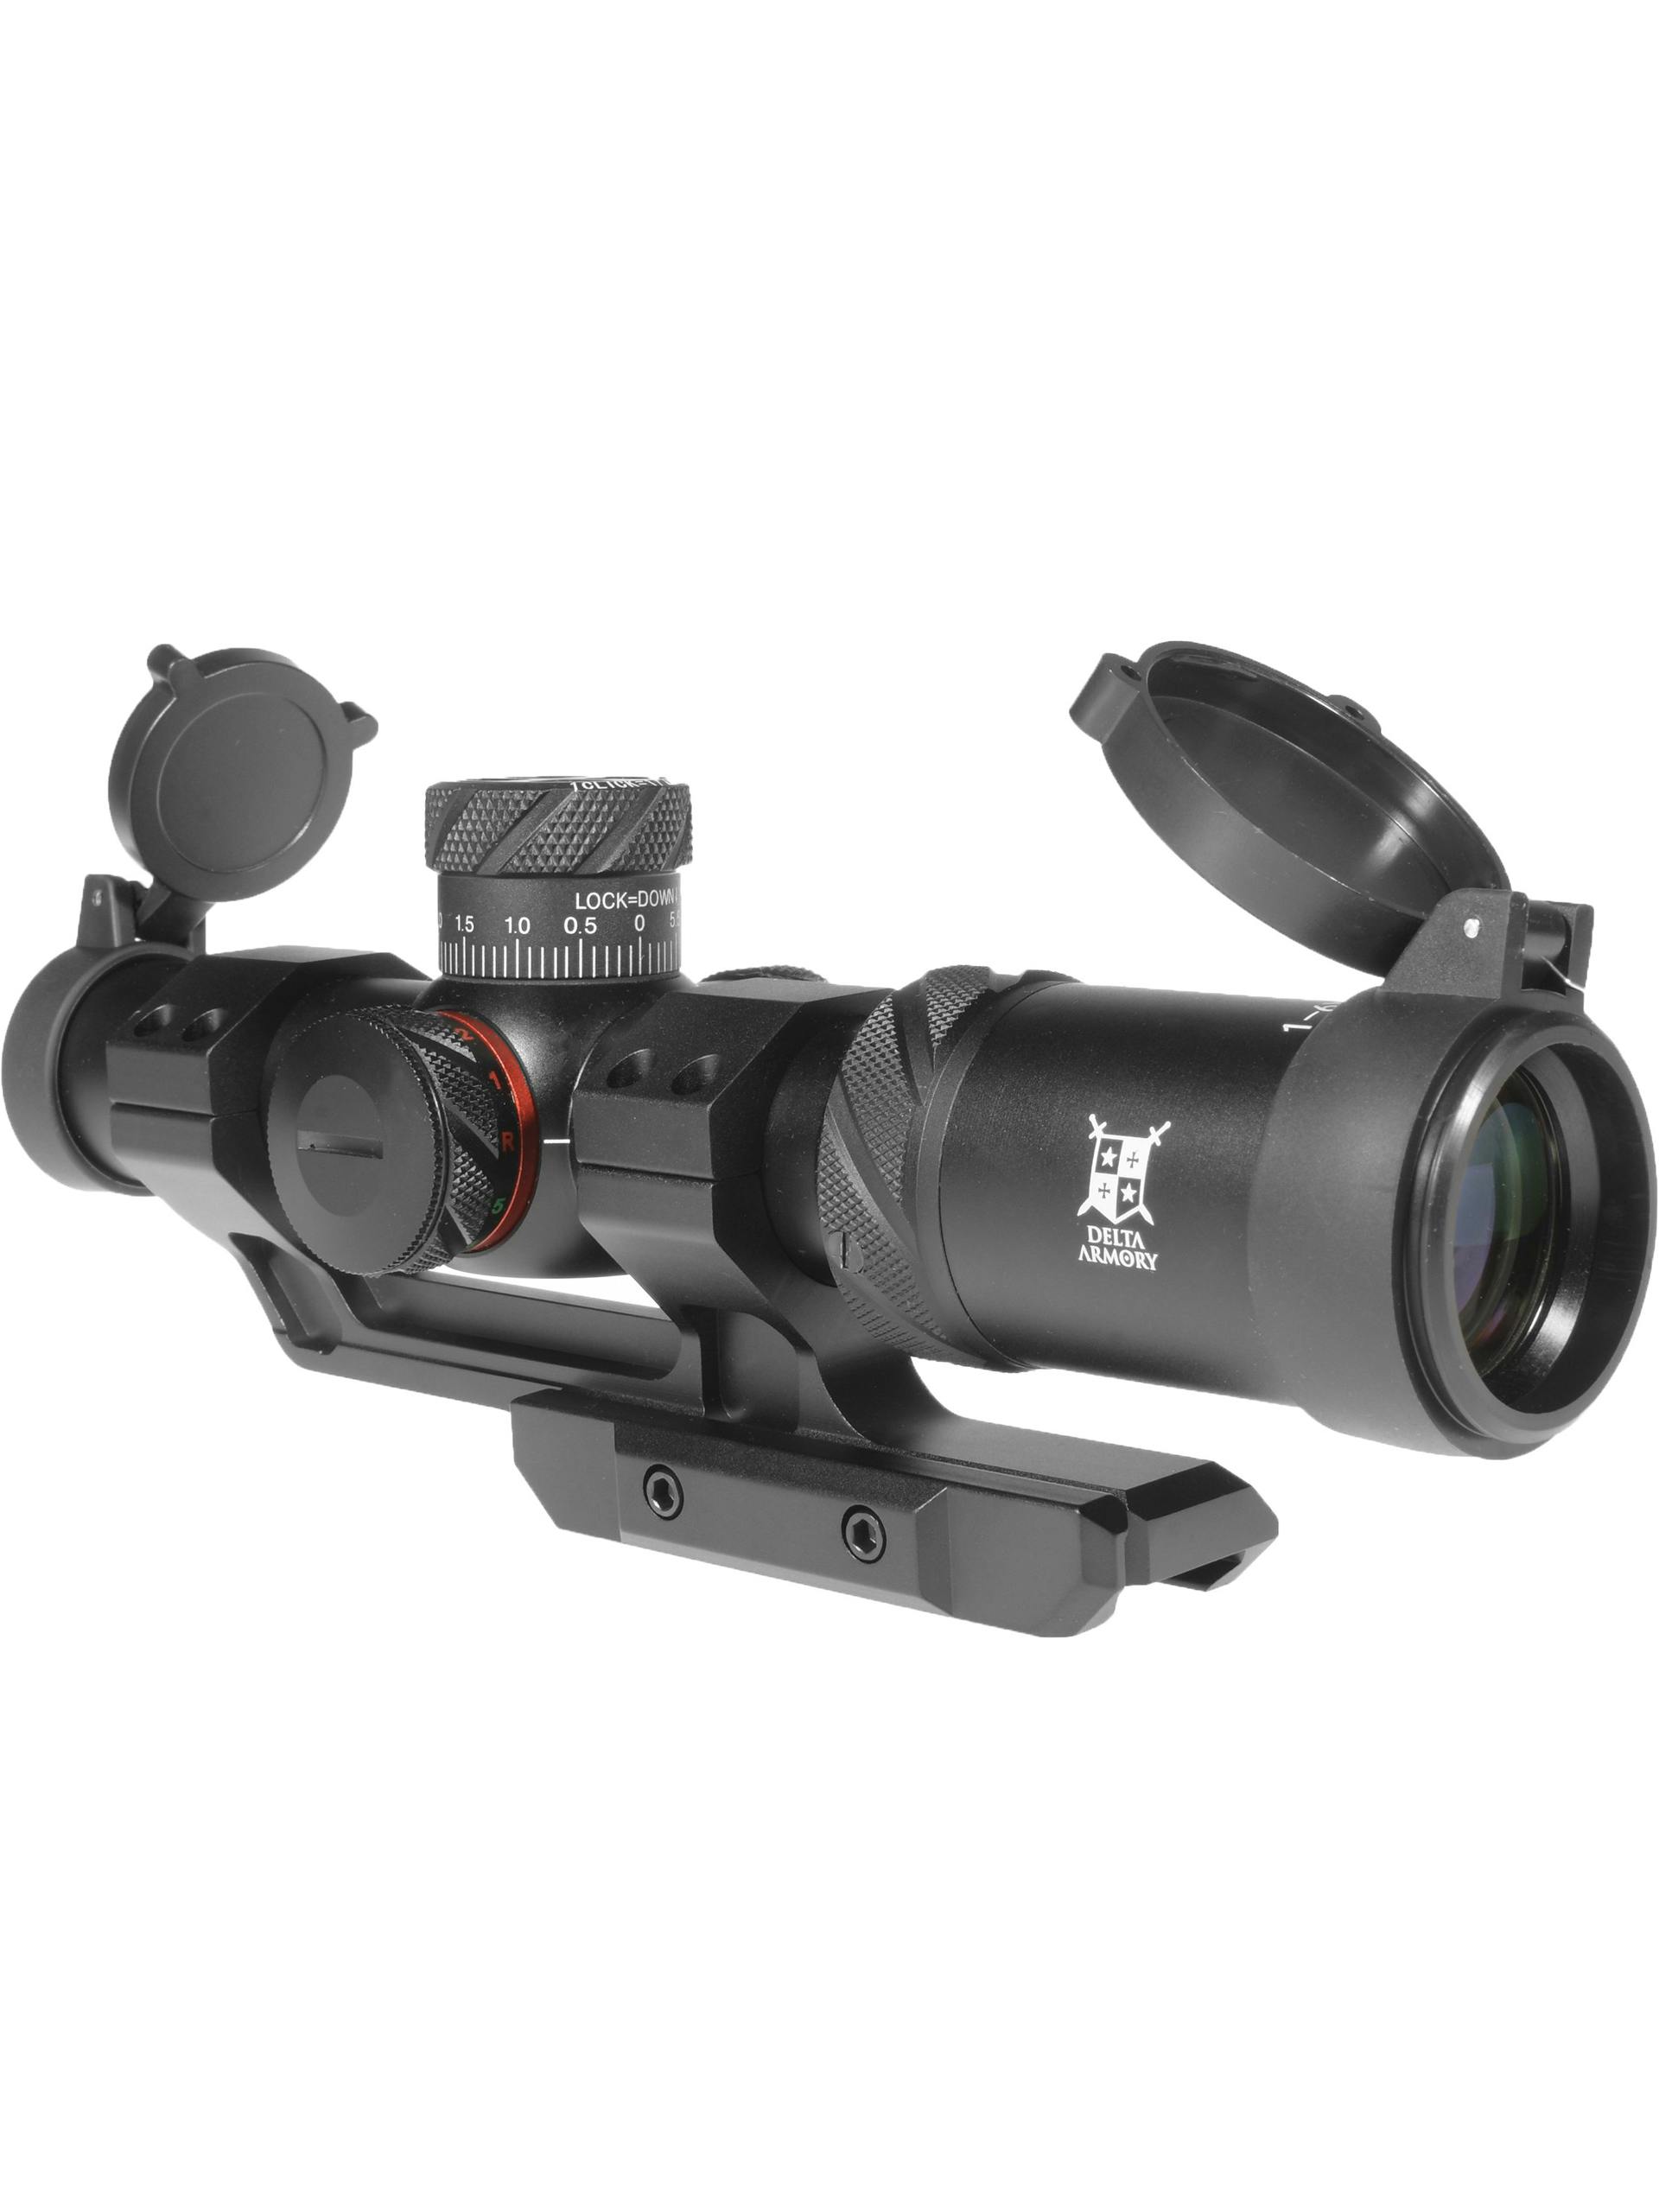
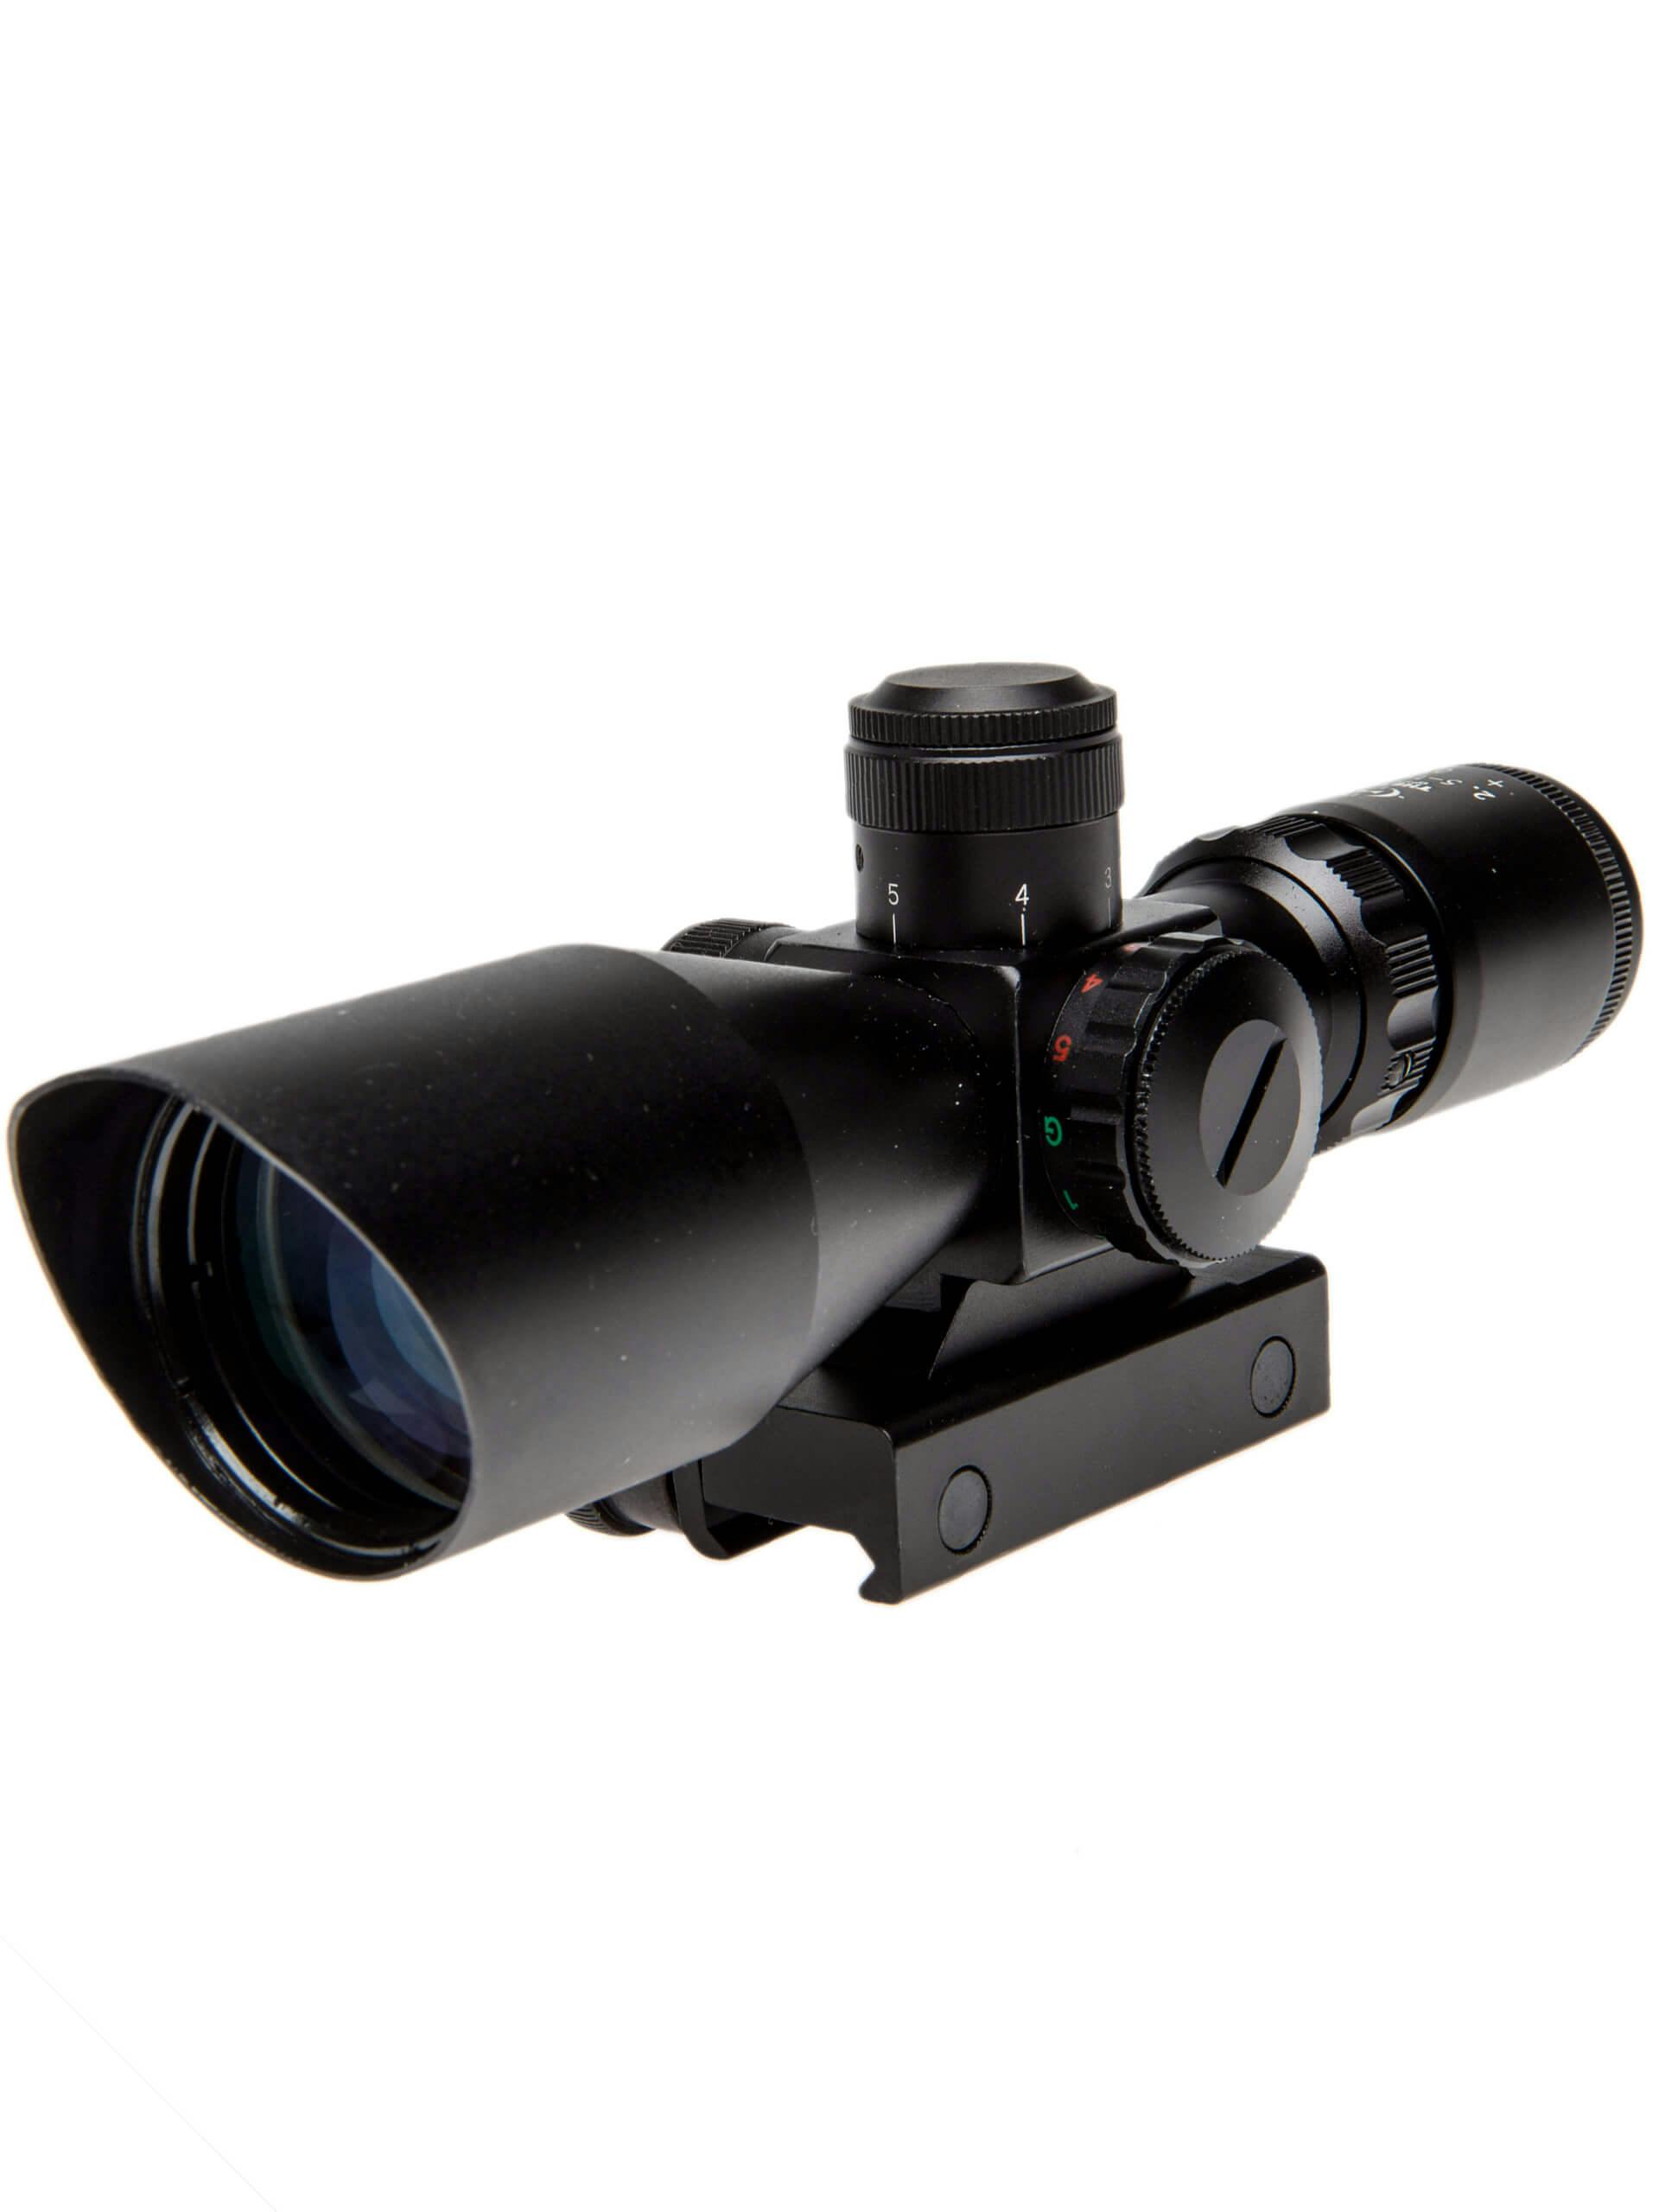
Traditional variable scopes, such as 3-9x or 2.5-10x models, are what many beginners imagine when they hear “scope.” They can be useful on sniper rifles, bolt-action builds, airsoft DMRs and airgun target practice, but they are usually a poor match for fast airsoft rifles.
The problem is minimum magnification. A 3-9x scope starts at 3x, which is already too zoomed-in for most CQB and many fast outdoor encounters. It narrows field of view and makes target tracking harder.
| Scope use | Good idea? | Why |
|---|---|---|
| Sniper/bolt-action airsoft | Yes | Slow position, spotting and hit confirmation matter. |
| DMR support role | Sometimes | Useful if the rifle is played slowly and field lanes are long. |
| CQB rifle | No | Too much magnification and too slow behind a mask. |
| Airgun target practice | Yes | More magnification can help with small targets and zeroing. |
Magnifiers explained
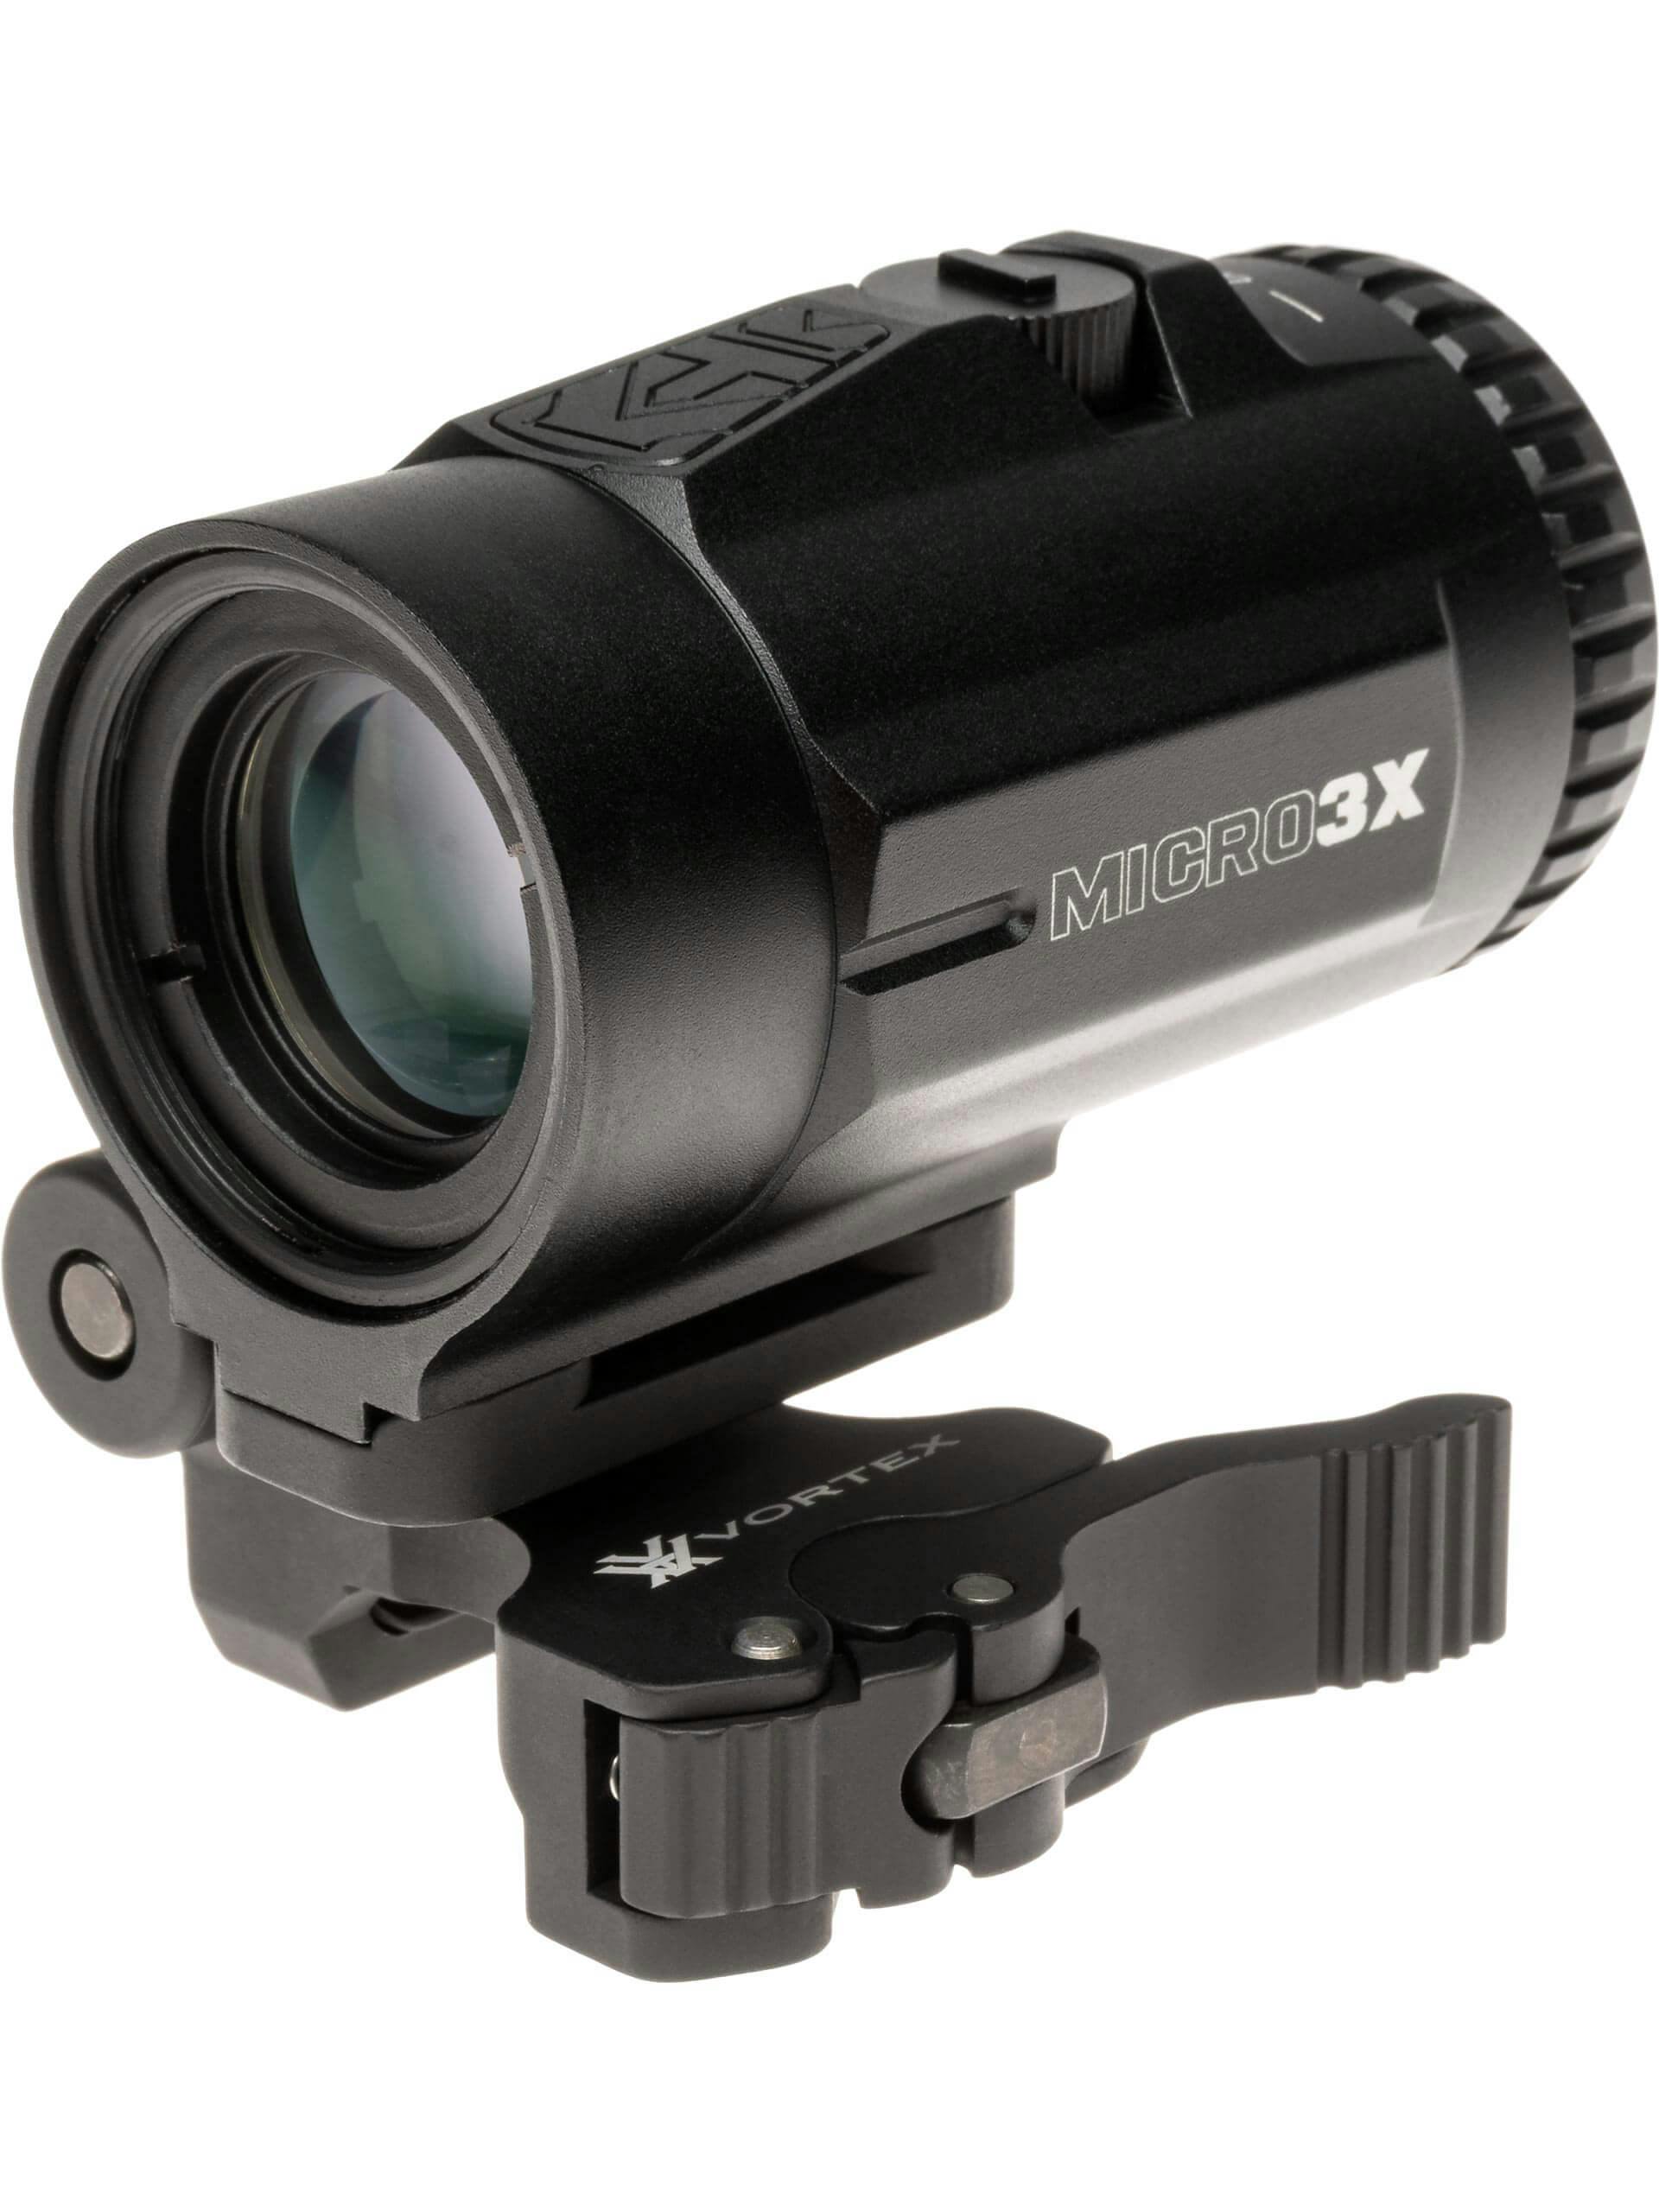
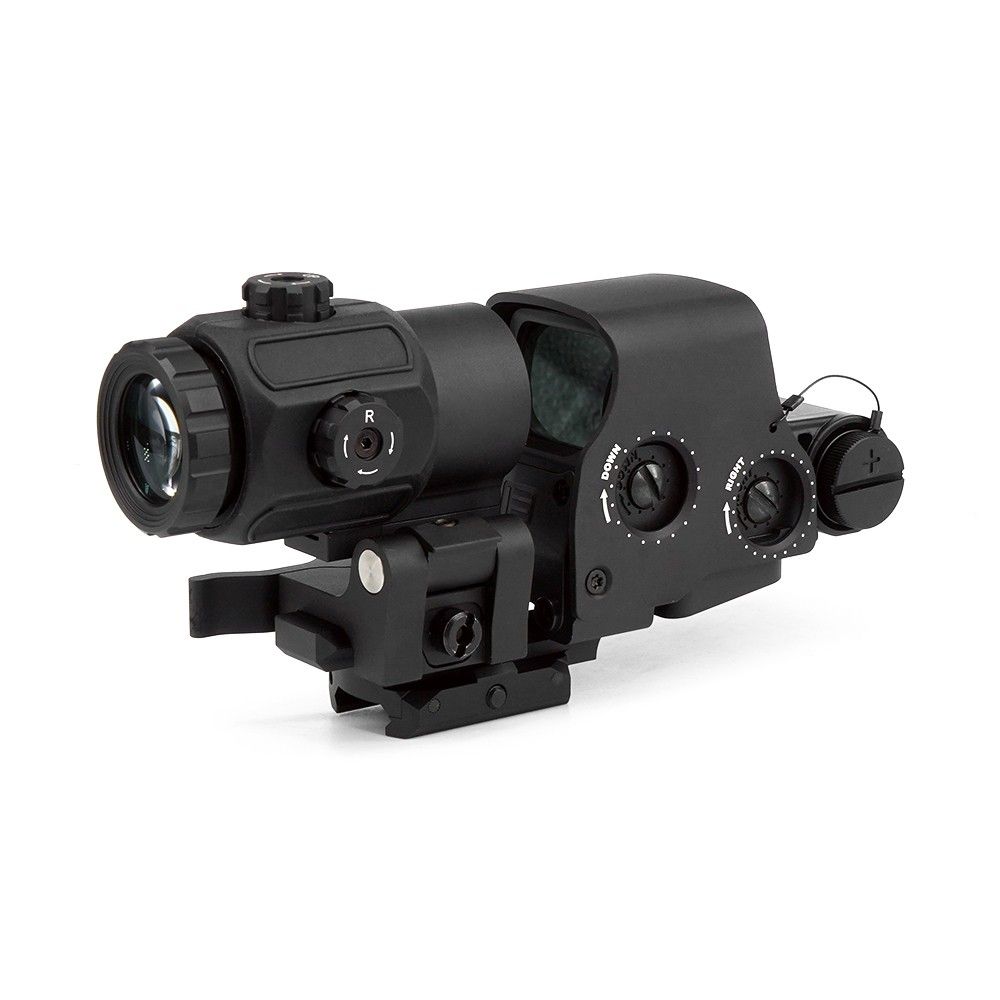
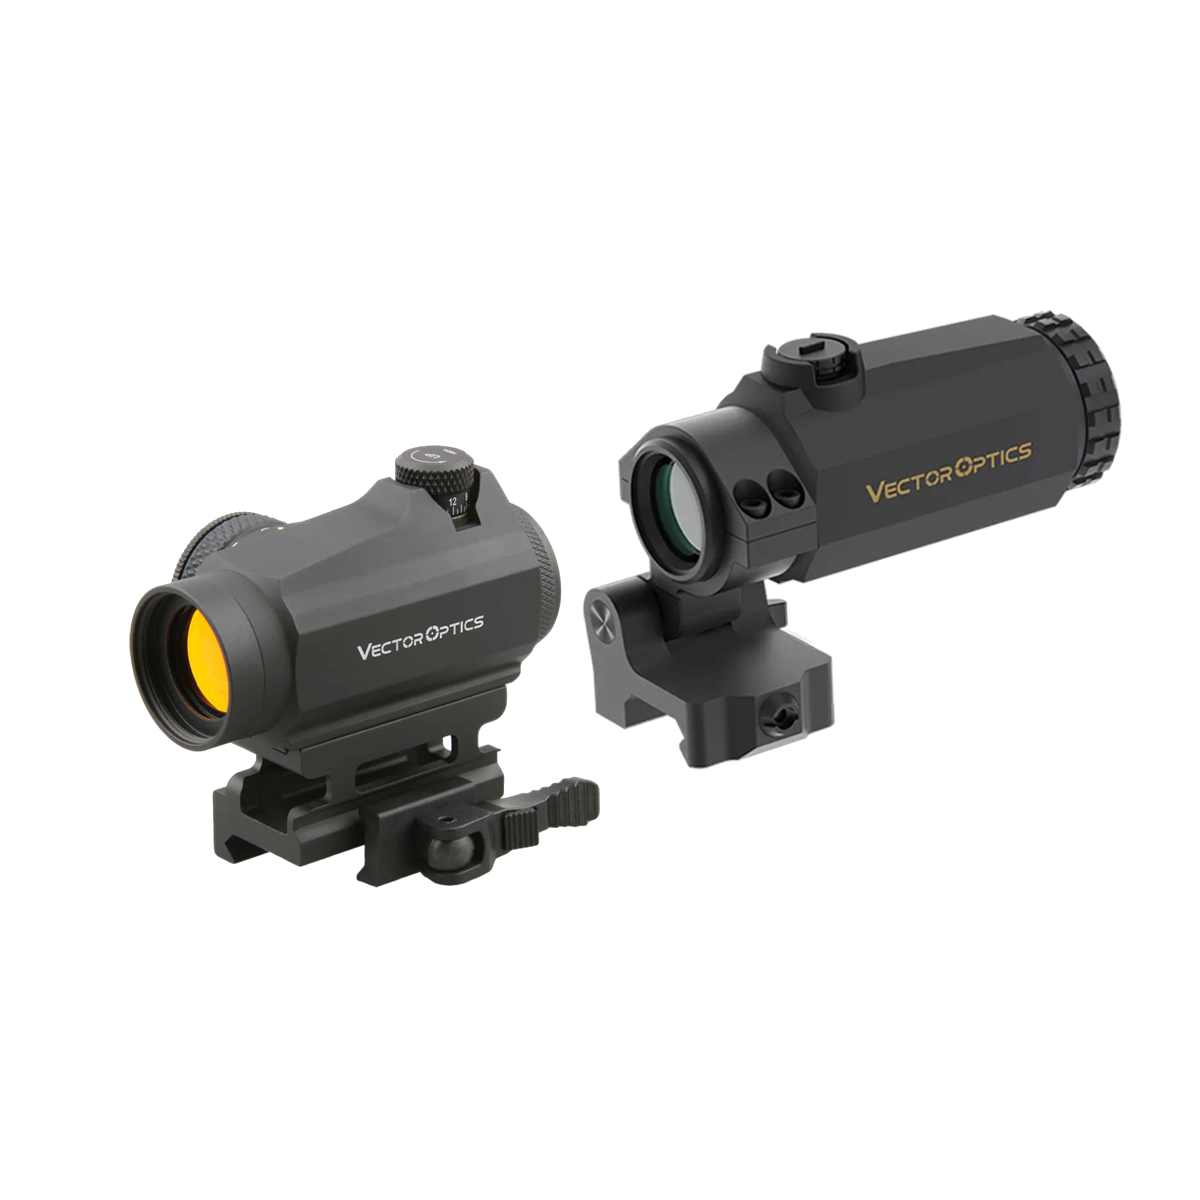
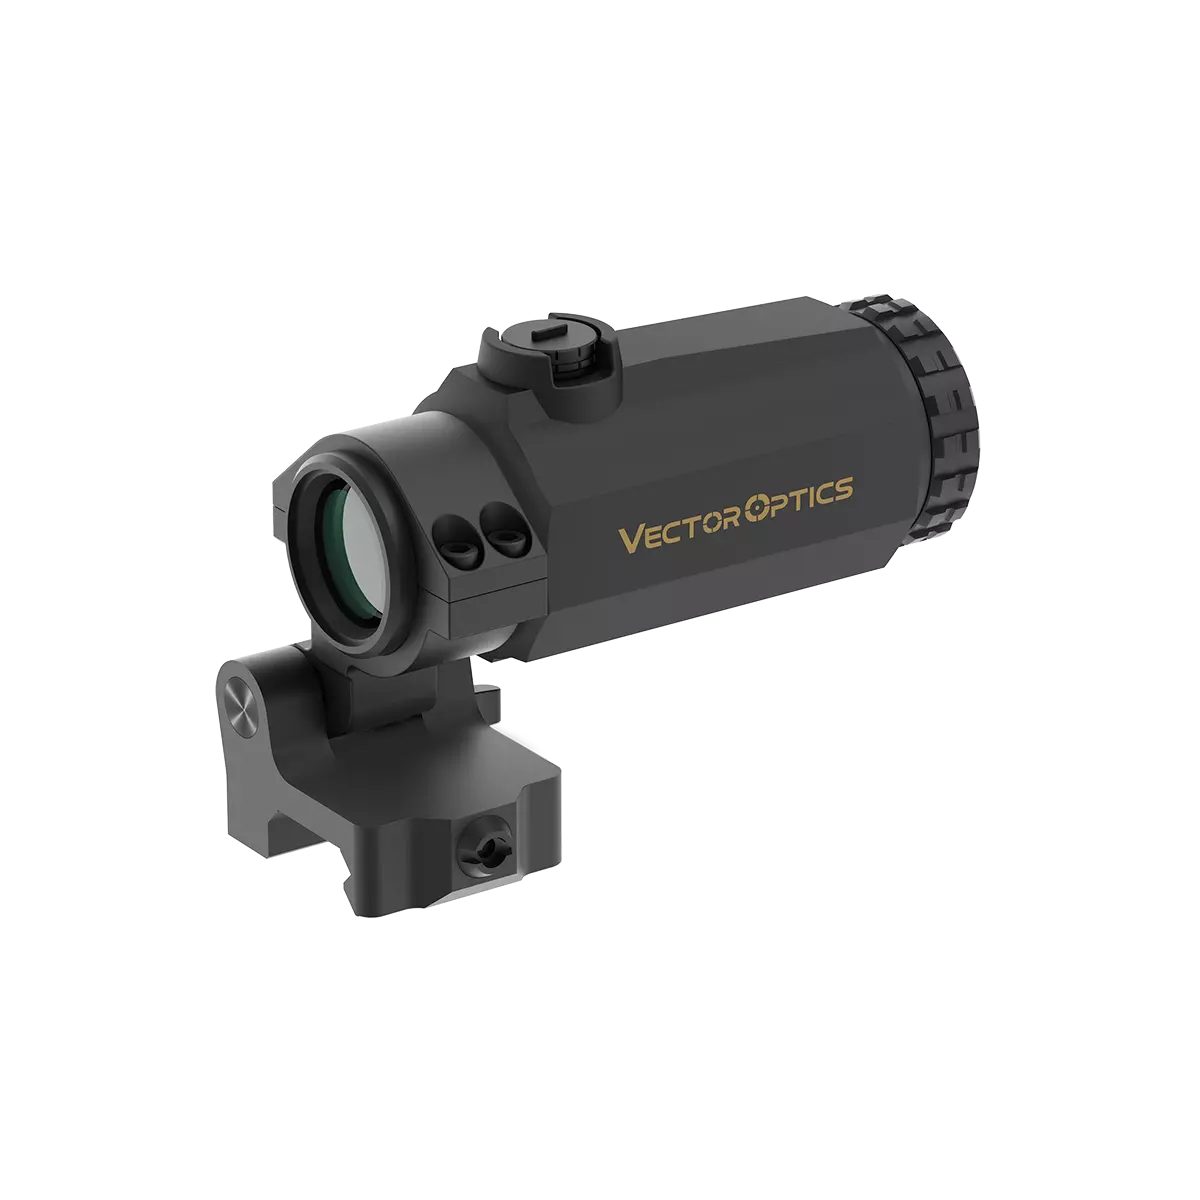
A magnifier is not a standalone sight. It sits behind a red dot or holographic-style sight and magnifies that sight picture. Most airsoft-relevant magnifiers are 3x. They can flip to the side, letting you keep your red dot as the primary optic.
This setup is a strong alternative to an LPVO when you want close-range speed most of the time but occasionally need to identify movement farther away. Patrol Base notes this modular advantage clearly: the non-magnified optic can stay mounted and zeroed, while the magnifier can be added or flipped aside depending on the game.
How to match optics by scenario
| Scenario | Recommended optic | Setup note | Common mistake |
|---|---|---|---|
| CQB / indoor | Red dot or open reflex | Use a riser if your mask blocks the sight line. | Using an LPVO at high magnification indoors. |
| Fast outdoor AEG | Red dot, or lightweight 1-4x LPVO | Prioritize field of view and rifle balance. | Overbuilding with a heavy 1-10x optic. |
| Woodland / mixed field | 1-4x or 1-6x LPVO | Use 3-4x for lane checking and armband ID. | Walking around stuck at 6x. |
| DMR build | LPVO or compact scope | Confirm eye relief from your real shooting position. | Assuming magnification adds BB range. |
| Sniper / bolt-action | Traditional scope | Use magnification for observation and hit confirmation. | Buying huge magnification but ignoring clarity and eye box. |
| Flexible M4 / GBBR | Red dot + magnifier or LPVO | Choose by whether you value speed or variable magnification more. | Not checking rail space and magnifier alignment. |
How to install red dots, LPVOs, scopes and magnifiers
A good airsoft optic install is not just “tighten the mount and zero it.” You need to match sight height to your mask, keep the optic on a stable rail section, set eye relief from your real shooting position and protect the lens before the first game.
Red dot installation flow
- Place the dot on the receiver rail, not on a loose handguard.
- Shoulder the replica with your goggles or mask on.
- Add a riser if your cheek weld is blocked by face protection.
- Set brightness just high enough to see the dot without starburst bloom.
- Zero after hop-up and BB weight are stable.
LPVO / scope installation flow
- Start at maximum magnification when setting eye relief.
- Move the scope until the full image appears naturally when shouldered.
- Level the reticle before tightening rings.
- Keep ring torque even; do not crush the tube.
- Confirm that the front lens protector does not touch the objective lens.
Magnifier installation flow
- Install and zero the red dot first.
- Choose a magnifier mount with the same optical height as the red dot.
- Flip the magnifier in and center the dot using the magnifier adjustment screws.
- Check eye relief while wearing your mask.
- Flip it out and confirm the red dot still works naturally at 1x.
Protection installation flow
- Choose polycarbonate shield, killflash or screw-in protector.
- Put protection in front of every exposed objective/window.
- Test for glare before game day.
- Carry spare protector material if your field is close-range heavy.
- Replace cracked protection immediately.
How to use each optic during a game
| Optic | Before contact | During contact | After contact |
|---|---|---|---|
| Red dot | Keep both eyes open and scan naturally. | Use the dot as a fast index, not as a benchrest aiming point. | Turn brightness down or off to save battery. |
| LPVO | Keep it on 1x while moving. | Move to 3-4x for lane checks, armband ID or watching BB flight. | Return to 1x before moving again. |
| Traditional scope | Use low magnification first if available. | Use magnification for observation and precision shots, not fast room clearing. | Check that parallax/focus and hop-up still match your engagement distance. |
| Magnifier | Leave it flipped aside while moving. | Flip in only for observation or longer shots; flip out immediately for close threats. | Check that the flip mount has not loosened. |
How to mount, use and avoid expensive mistakes
Mounting checklist
- Set hop-up and BB weight before final zero.
- Use threadlocker only where appropriate.
- Confirm eye relief at maximum magnification.
- Check mask clearance from real shooting positions.
- Use a riser for full-face mask comfort.
- Keep magnifier and red dot at matching heights.
Mistakes to avoid
- Running any optic without BB lens protection.
- Buying magnification before knowing your field distance.
- Mounting an optic across flexible receiver/handguard joints.
- Zeroing before hop-up is stable.
- Using maximum brightness and creating dot bloom.
- Choosing the optic only because it looks clone-correct.
For lens protection, use a BB-rated polycarbonate shield, killflash, honeycomb protector, screw-in protector or rail-mounted shield depending on the optic. Community discussions repeatedly show the same lesson: even if a protector looks less clean, replacing a protector is cheaper than replacing glass.
Compatibility matrix: optic, mask and rifle type
| Setup | Mask comfort | Rail / mount need | Best role | Avoid if… |
|---|---|---|---|---|
| Low red dot | Medium | Simple low or medium mount | Basic CQB / outdoor AEG | Your goggles block the sight line. |
| Red dot on riser | High | Stable riser, ideally not too tall | Full-face mask CQB | You need a very low cheek weld or dislike height-over-bore. |
| LPVO in cantilever mount | Medium | Correct forward position and eye relief | Woodland / DMR AEG | You play mostly indoor or sprint-heavy games. |
| Scope on sniper rings | Low to medium | Ring height must clear objective and mask | Bolt-action / slow DMR | You need fast close-range transitions. |
| Red dot + magnifier | Medium | Matched optical height and enough rail space | Flexible outdoor rifle | Your replica is short on rail space or front-heavy already. |
Buyer mistake map: what usually goes wrong
| Mistake | Why it happens | Better choice |
|---|---|---|
| Buying too much magnification | The buyer copies firearm or sniper aesthetics instead of field distance. | Use red dot first; use 1-4x/1-6x only when field lanes justify it. |
| Ignoring mask clearance | The optic looks fine on a table but cannot be used behind goggles. | Shoulder the replica with mask on; add riser or choose a more forgiving optic. |
| No lens protection | New players assume an airsoft optic lens is cheap or BB-safe. | Use polycarbonate/Lexan shield, killflash, honeycomb protector or screw-in protector. |
| Cheap magnifier disappointment | Magnifiers can add dark glass, short eye relief and alignment frustration. | Test height and eye relief; consider LPVO if magnified clarity matters more. |
| Zeroing before hop-up is stable | The player adjusts optic before BB trajectory is consistent. | Set hop-up and BB weight first, then zero at realistic field distance. |
Lens protection note
Airsoft Legends and community discussions repeatedly distinguish acrylic from polycarbonate/Lexan: acrylic can be clear but may crack; polycarbonate is usually the safer impact-resistant choice for BB hits. Treat any protector as sacrificial and inspect it after direct impacts.
Magnifier vs LPVO note
Primary Arms-style firearm comparisons and airsoft discussions agree on a useful tradeoff: red dot + magnifier preserves 1x speed when flipped aside, while an LPVO gives a more integrated reticle and variable magnification but is slower at close range.
Recommended next reading on LarkBell
Use this guide as the first step, then move to the more specific buying or comparison pages below.
Best LPVO for Airsoft Shortlist of field-ready 1-4x and 1-6x options.
EXPS3 Replica Price Comparison Marketplace route and seller-risk guide for EXPS-style optics.
T-Eagle ER 1.2-6×24 Review Budget short-dot LPVO reference for airsoft builds.
VictOptics S6 1-6×24 Review Budget LPVO reference with fiber-reticle version notes.
Do You Need a Scope for Airsoft? Scenario guide for CQB, woodland and DMR use cases.
Airsoft optic decision score
This guide is scored as a buyer-education article, not as one physical product. The score reflects how well the decision framework helps an airsoft player understand, match, install and avoid mistakes with red dots, LPVOs, scopes and magnifiers.
| Criterion | Editor score | Why it matters |
|---|---|---|
| Optic-type clarity | 9.2 | Clearly separates red dots, LPVOs, traditional scopes and magnifiers. |
| Scenario matching | 9.0 | Connects optic choices to CQB, woodland, DMR, sniper and flexible M4 builds. |
| Setup and mounting guidance | 8.8 | Covers eye relief, mask clearance, risers, zeroing and magnifier alignment. |
| Airsoft-specific realism | 9.1 | Treats BB protection, hop-up trajectory and real field distances as central. |
| Image and example usefulness | 8.7 | Uses real product/reference images instead of generated graphic cards. |
| Beginner buying confidence | 8.9 | Gives a simple path: start with red dot, upgrade to LPVO or magnifier only when the field demands it. |
Final recommendation
Buy a red dot first if you are new to airsoft. It is faster, lighter and more forgiving with masks than any magnified optic. Buy an LPVO when your outdoor field rewards observation. A 1-4x or 1-6x scope helps with lane watching, DMR-style roles and target identification. Use a traditional scope only for sniper/slow DMR use, and add a magnifier only when your red dot setup needs occasional distance information.
The most important upgrade is not magnification — it is protection. Whatever optic you choose, protect the front lens before you play.
Sources and research notes
- Pinty Devices — Beginner’s Guide to Airsoft Optics
- Patrol Base — Buying guide: Airsoft Optics & Red Dot Sights
- Socom Tactical — Optical Sights and Red Dots Airsoft Guide
- Primary Arms — LPVO vs Red Dot and Magnifier
- Pew Pew Tactical — Red Dot with Magnifier vs Prism vs LPVO
- Reddit r/airsoft — LPVO or red dot magnifier discussion
- Reddit r/airsoft — optic protection discussion
- Novritsch Blog — Red Dots or Scopes for Airsoft
- Airsoft Legends — Killflash & Lens Protectors
- Local LarkBell records used: Best LPVO for Airsoft, LPVO vs Red Dot for Airsoft, T-Eagle ER 1.2-6×24 Review, VictOptics S6 Review, SpecPrecision EXPS3 Replica Guide and Vector Optics Brand Introduction.
Images include newly uploaded real product/reference images from public retailer/brand sources plus existing guide.larkbell.com product images. Always verify current package contents, dimensions, mount height and lens-protection fit before buying.